
Deploy
Pages
Build custom pages within your portals to display additional information alongside your AI tools.
Within portals, you can create and add pages to display additional information alongside your AI tools. This might include a home page, a pricing page, an about page, or anything else your users might need.
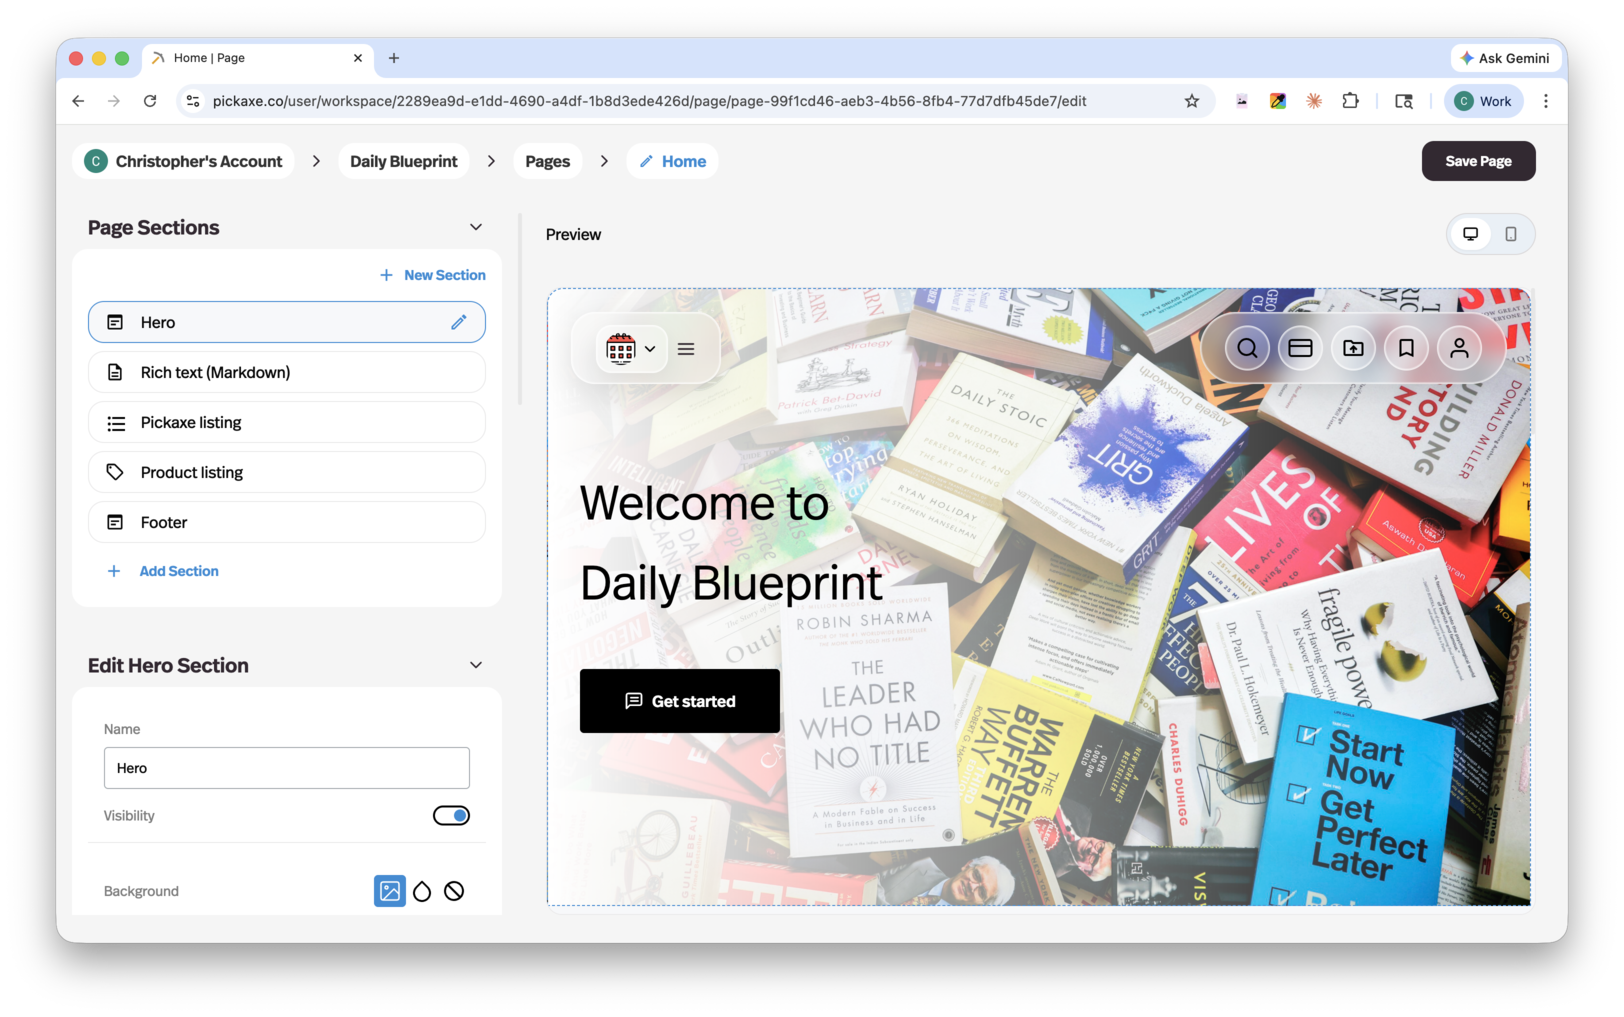
Creating pages
To create or edit pages, go to the Pages tab in your dashboard. From there you can add new pages or modify existing ones using the page builder.
Start with a page shell
Most builders start with a simple home page, pricing page, FAQ, or onboarding page. Create the page first, give it a clear title, then decide whether it should live as standalone content or be attached to a portal.
Edit and publish
Inside a page, you can mix Markdown sections, rich text, and custom HTML. To make changes, click Edit Page. When you're done, click Save Edits to publish the latest version.
Page builder sections
The page builder lets you assemble pages from a variety of section types:
Hero and text sections
- Hero section — Large text with a call-to-action button, great for landing pages.
- Markdown text block — Write content using markdown formatting.
- Rich text block — A visual editor for formatted text without needing markdown.
These are the most common blocks for welcome pages, onboarding instructions, pricing explainers, and lightweight documentation inside a portal.
Custom HTML and advanced layout
- Custom HTML — Add your own HTML for full control over layout and styling.
Use this when you need custom embeds, advanced branding, or layout behavior that the standard blocks do not cover.
Agent and access listings
- Agent listings — Display a collection of your agents for users to browse.
- Access group listings — Show available access groups and their pricing or upgrade paths.
These are especially useful on portal home pages, pricing pages, and upgrade funnels because they let users discover tools and paid tiers without leaving the page.
Footer and utility sections
- Footer section — Add a footer with links, branding, or other closing content.
Adding pages to a portal
Once you've built your pages, you can add them to any portal through the Content tab in the portal editor, where they'll appear alongside your agents in the side menu.
Add a page from the Content tab
Open your portal, go to Content, and add the page just like you would add an agent or folder. From there you can reorder it, nest it inside folders, or use it as part of the portal's default navigation.
Common portal page patterns
Builders often use pages for:
- A portal home page that explains what the portal includes
- A pricing or upgrade page that sits next to premium agents
- Onboarding and FAQ content that reduces repetitive support questions
- Resource libraries or lesson content that support the agents in the portal